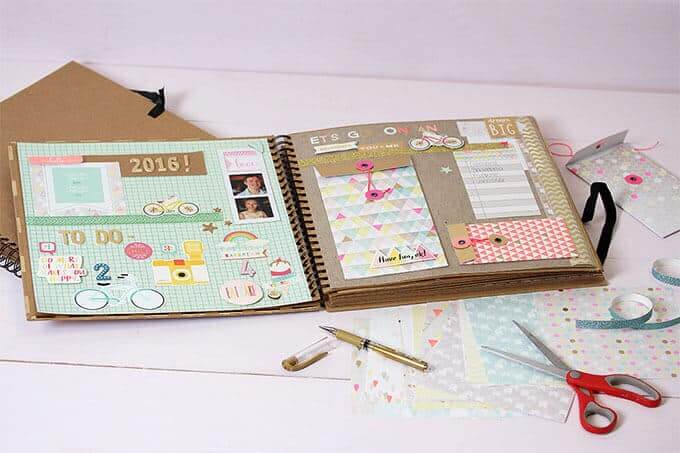
During a recent downsizing exercise, I found a box of old photos & albums. It was so nice flicking through them mug of coffee in hand but as I searched the corners of my mind for names & places of years gone by I wished I’d been more organised, at least noted a date on the back of my pics. Always a believer that its never too late I started looking for ideas of how to create a scrapbook.

Here are some of my favourites that spurred me on to get started
Get organised
You can find any number of embellishments like stickers, buttons, ribbons etc. but you don’t have to spend a fortune to get started.
All you really need is
- A pair of scissors
- Adhesive for your photos
- An album
- Page protectors
- Paper & card (making sure it’s all acid & lignin free to prevent deterioration)
- A pen with archival quality ink

The Sakura Pigma Micron Pens have archival quality ink and a wide range of tip sizes and colours making them a great first choice.
Tip – if you’re unsure of a clipping’s makeup you could use a de-acidification spray or failing that make a copy on acid free paper.
Keep it simple
As with most things scrapbooking will have trends, something you do today may look dated in years to come. I’ve learned that many seasoned scrappers suggest that keeping to basic shapes will create a timeless way of telling your story & preserving treasured photos.
Learn the basics
- How to make a photo mat – these are basically borders that help your photos stand out. Use your imagination, depending on your theme or effect you want to create these can be as simple or elaborate as you like.
- How to fix photos – in terms of scrapbooks fixings are often used to draw attention to the photo. Choose from a wide range of embellishments to suit your theme/taste.
- How to create borders – you can make interesting borders with card, fabric or metal. Alternatively, why not experiment using photos & text. Scrapbooking is all about telling your story & saving memories, the ways that you decide to do it are all down to personal choice.
- Choose your layout – decide if you want the event to go on one or two pages, do you want to overlap photos? make a grid or link to a journal, there are so many things you can do & plenty of places to search if you’re in need of some inspiration.
Until I started my quest for ideas I hadn’t realised just how much info was out there. As a beginner, my advice would be don’t be overwhelmed. You don’t need to make an all singing & dancing album using different techniques on every page. It should be fun, enjoy it!
So it looks like I’ve found a new hobby, I’ll still be using the computer to store irreplaceable photos safely in the clouds but will also have my very own library, a little piece of history, a keepsake.
